Whether you are a ginormous hosting company or a one man band, WHMCS can help you manage tons of domains. I’ve been using it personally for a number of years now, and have recently added another install since I’ve co-founded our hosting company.
If you landed here, chances are you need some help getting setup. This is no easy task!
For the purpose of this post I’ll assume you are on a LAMP server (Linux, Apache, MySQL, PHP) and have a basic understanding of the Linux command line. If you don’t you pretty much don’t have any business installing WHMCS.
I’ll also assume you are using Windows, which isn’t a great assumption for the most part but it is what I was working with.
Here we go!
Start by downloading the latest version of WHMCS. Once you’ve downloaded the zip, unpack it. It doesn’t really matter what you name it but I named it WHMCS. There is a file called configuration.php.new rename that to configuration.php. K?
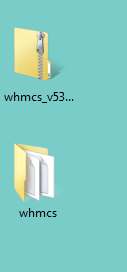
Take the contents of your folder and upload it to a folder within public_html folder. I named mine billing just because. In some rare cases you can upload directly to your public_html folder but that might depend. This might take a while depending on your connection.

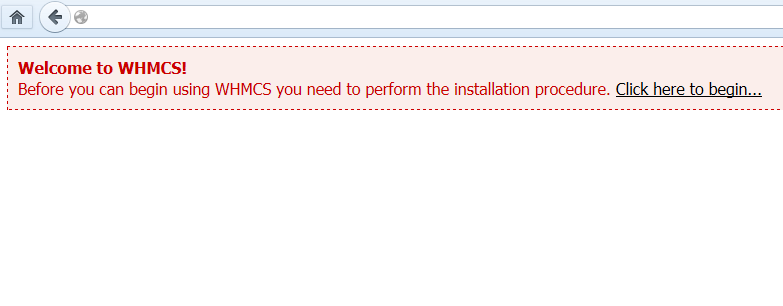
Once all the files are done, visit the installation setup URL at:
http://www.example.com/whmcs/install/install.php
After this you pretty much just have to follow the instructions on screen.
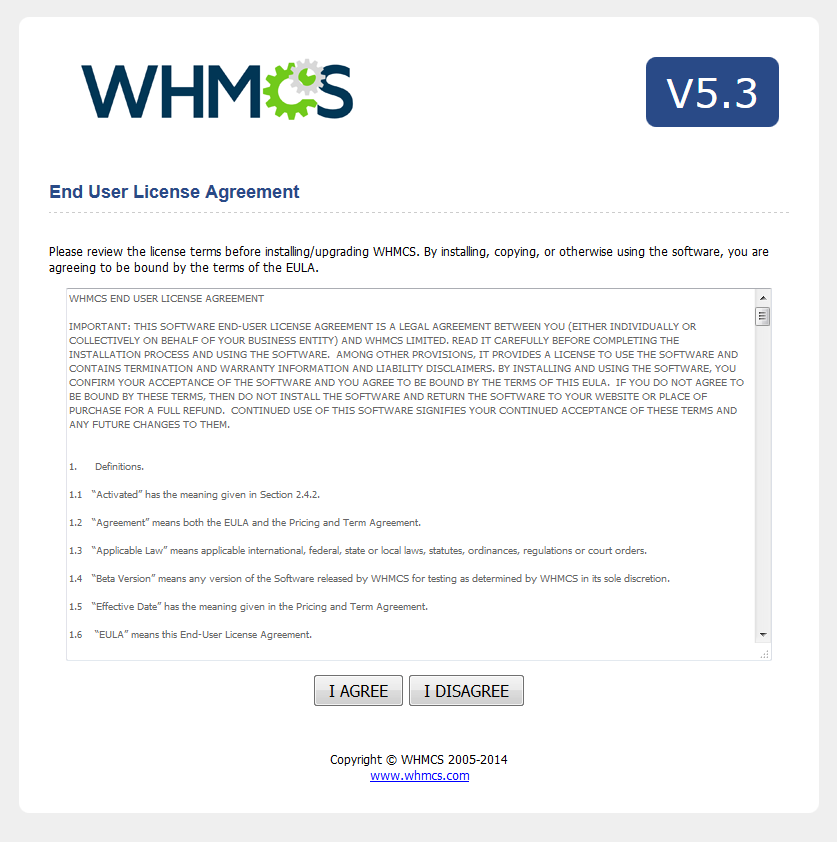
Say yest to the dress. (I agree)
At this point if you are a savvy sysadmin your server will have passed all of the checks. If not you will have to fix these issues or contact your hosting company.

Database and database user creation time! Should be self explanatory here but you get the idea.
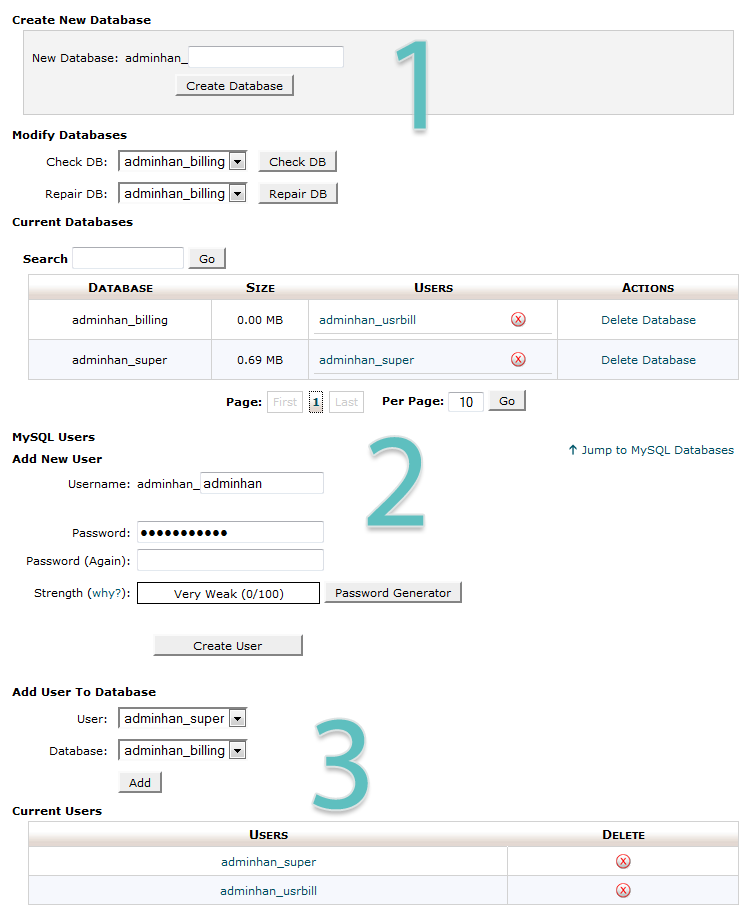
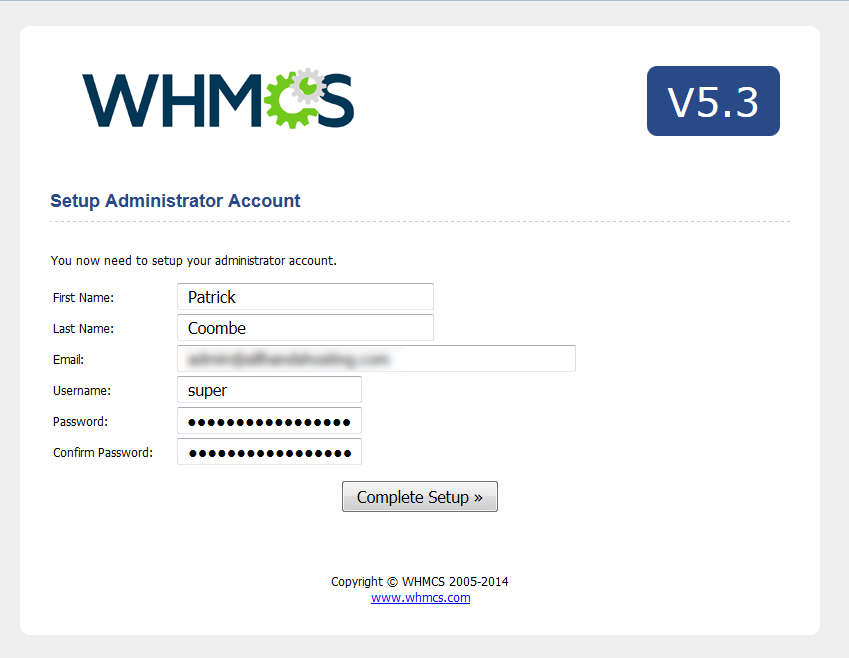
Choose some good passwords and a solid username.
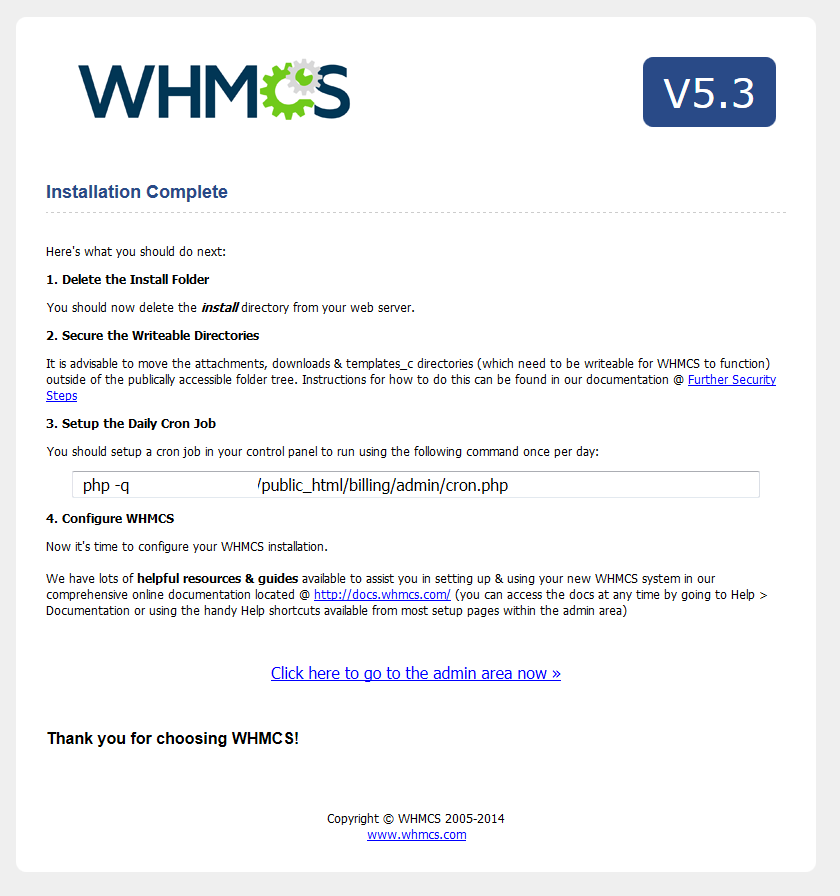
Once installation is complete, you’ll get some more suggested installation instructions. Mainly security stuff and maintenance stuff. You’ll also have to setup a cron job.
You can change permissions in FTP or command line.

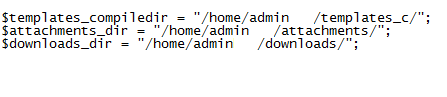
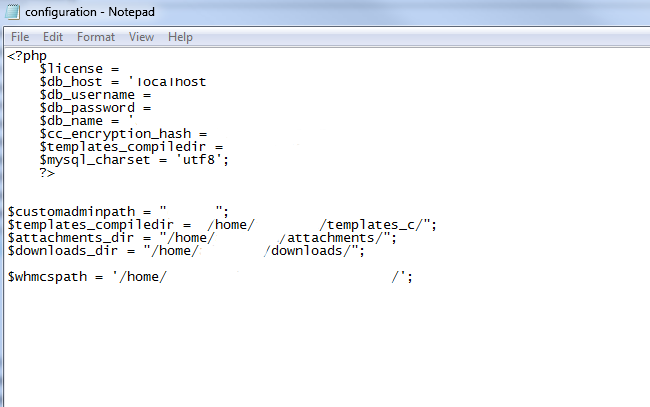
Another necessary step. What this step basically does is make it so the important stuff is not visible to the world, at all.
Ah, .htaccess eding.
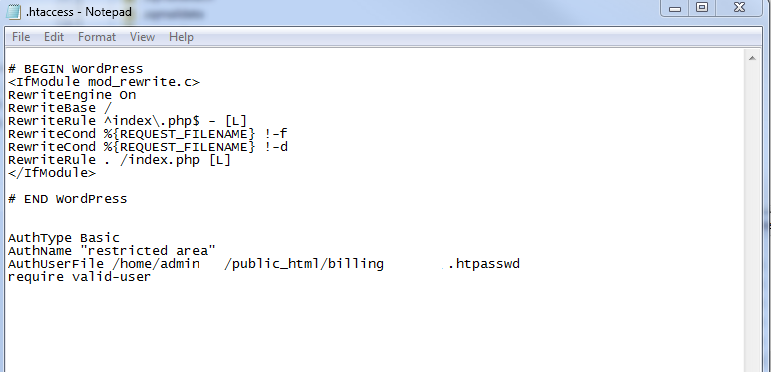
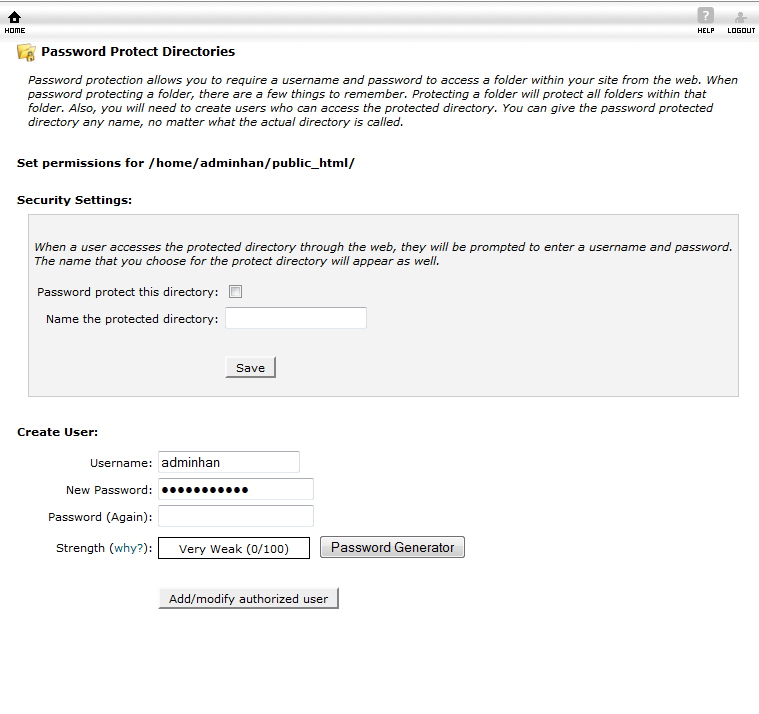
Another optional step, but good to lock things down.
I had to strip out some of this, but you should get the idea.
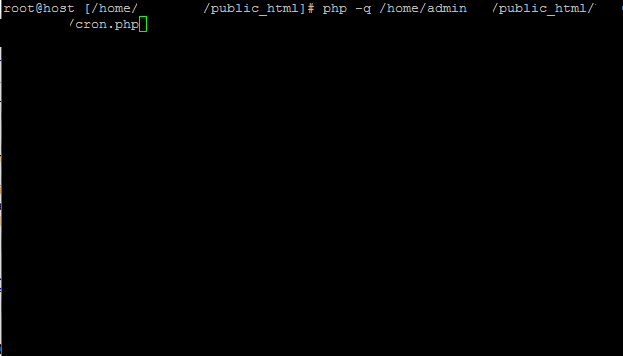

Step up the cron job to run once per day.

If all goes well you should see the admin screen, good luck!