

Desk Built Using PVC Fence Post and Birchwood via Home Depot
I’ve always been kind of a handy person and have had a variety of jobs in my youth. My Father is very handy and always was building or fixing things around the house, so I learned a lot about tools from a very young age.
After the recent birth of my first son, I was out of a home office. I needed to move my office to a nook in the kitchen and it just was not working for me. There were two desks that did not connect, way too many legs in the way, terrible ergonomics, and just a bad situation and bad feng shui overall. I looked everywhere for a new desk and nothing seemed to fit my needs. The only things that came close were thousands of dollars and I did not want to do that if I would be moving into a larger house in a year or so, so I decided to build my own desk.
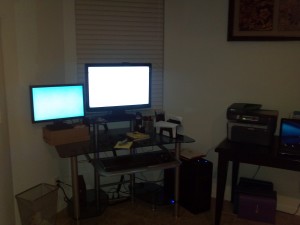
- before picture/situation
I made some general plans, to fit a very awkward space in my kitchen. An “L” shaped desk would not fit properly and other situations would have been equally bad. Here is the layout of the floor and the shape I wanted the desk to be:
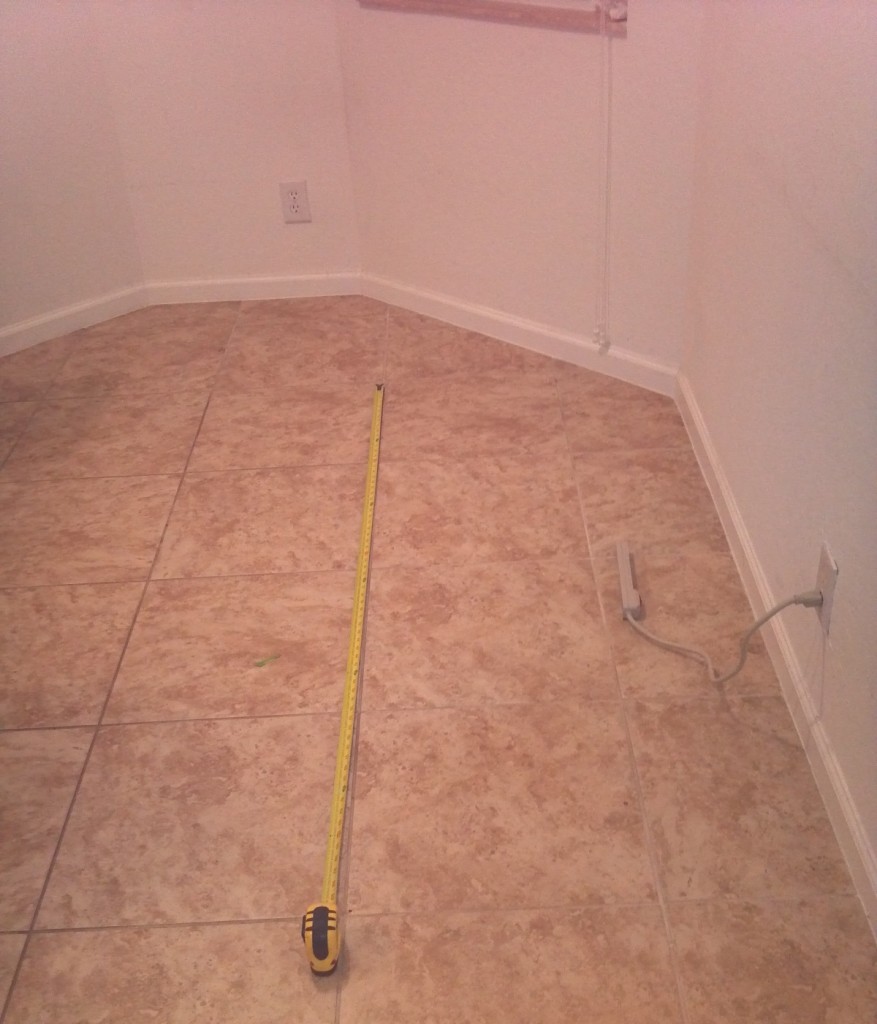
- Floor area/space
Off to Home Depot I went. I knew I wanted to build the top out of wood but I was up in the air with what I wanted to do with the legs. I consulted with an old man at Home Depot who advised me to use PVC square fence posts for the desk legs. He said it was the popular thing to do, would be sturdy, and would look cool. With his help I made my list:
- 2 sheets of birch plywood 3/4″
- 6 2x4s
- Various wood screws
- Wood filler
- 4 white PVC fence posts
- Wood stain and finish
- 2 Saw horses
- I also took this time to buy a more powerful drill, a circular saw, and an electric sander. I threw in some drill bits and a rubber mallet just in case.
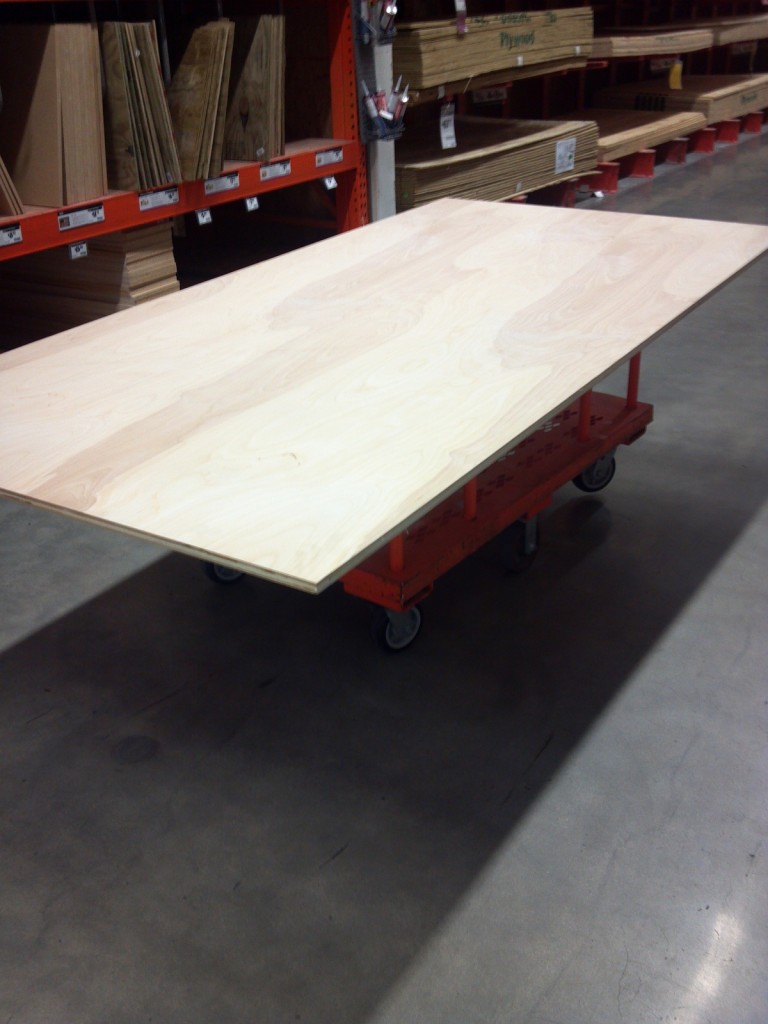
- Chose a nice piece of birch wood for the desktop
Next was off to my wood shop (my garage) to make the cuts. It has been a while since I made any cuts like this that required precision, so I took my time and “cut once, measured twice.” The cuts came out exactly the way I wanted them to, and I was very happy with the results.
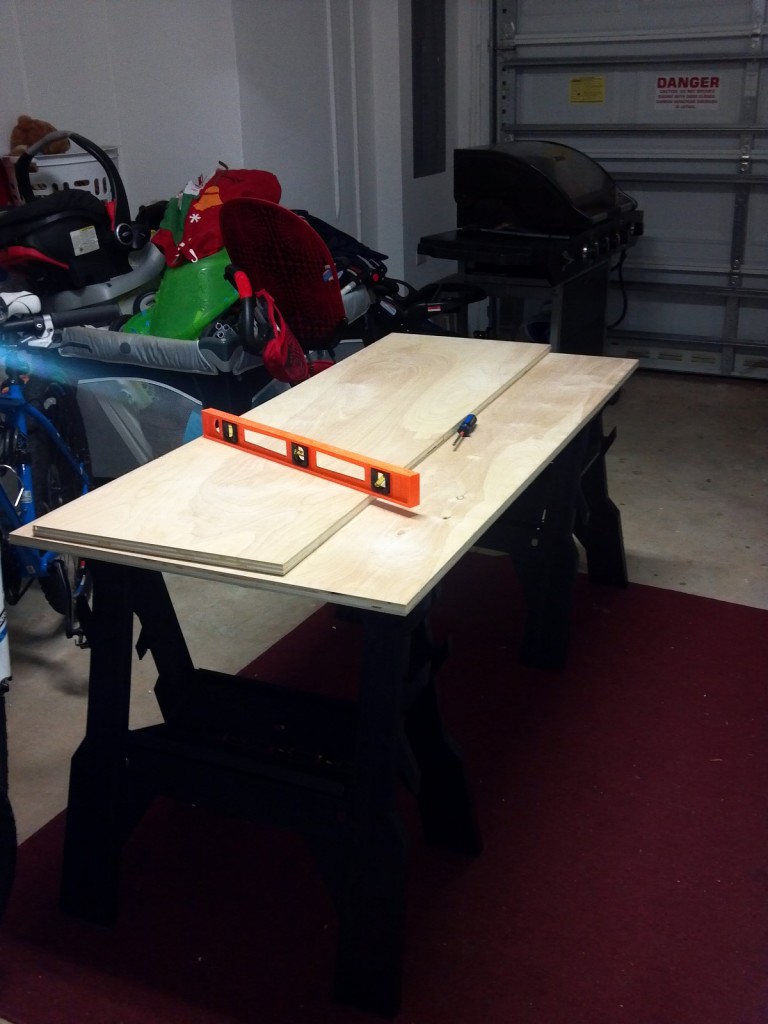
- Cuts came out very nice
The second cut came out just as nice:

- second cut
There was a small gap (probably from my amateur sawing techniques) that came about, but nothing a little sanding/routing couldn’t fix!
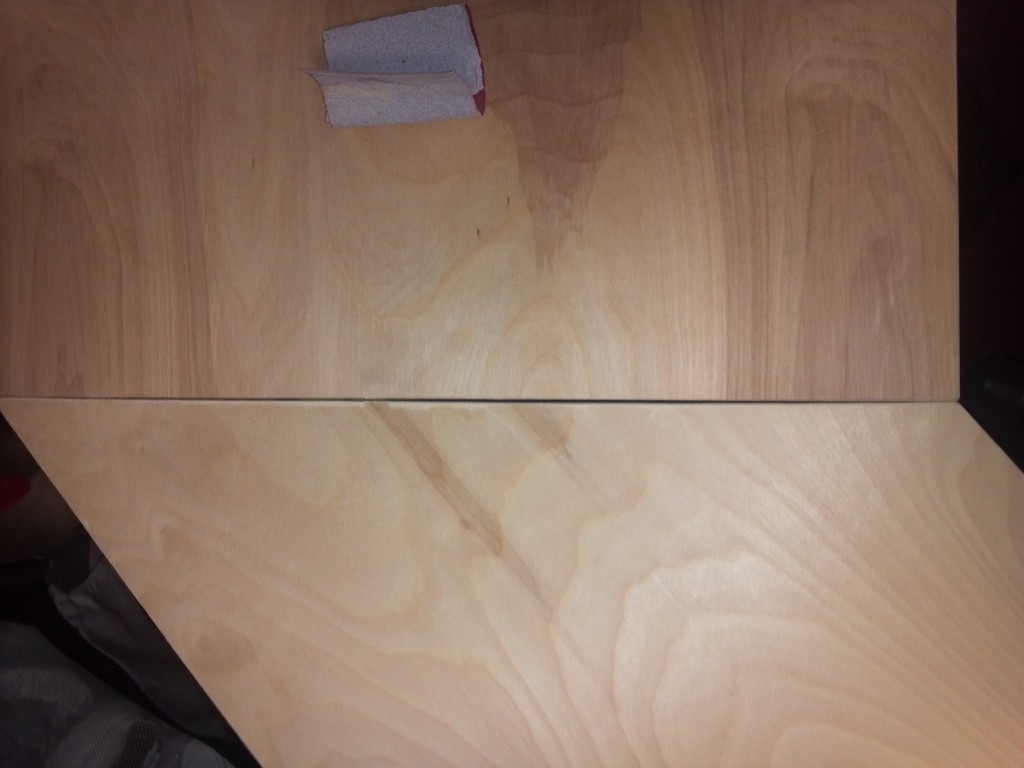
- Slight gap, fixed with sanding and routing
I skipped a lot of the next few steps, which I wish I didn’t. I built the desk apron out of 2x4s for the long piece of the desk. I attached it to the desk using appropriate length screws and a ton of wood glue. I sanded everything like I’ve never sanded before, then I sanded some more. Hand sanding as well as the electric sander. I applied wood filler to the areas that needed it as well. I also used some homemade wood filler out of saw dust and glue. I pained it up using some primer and white paint.
Now we are finally looking like a desk!
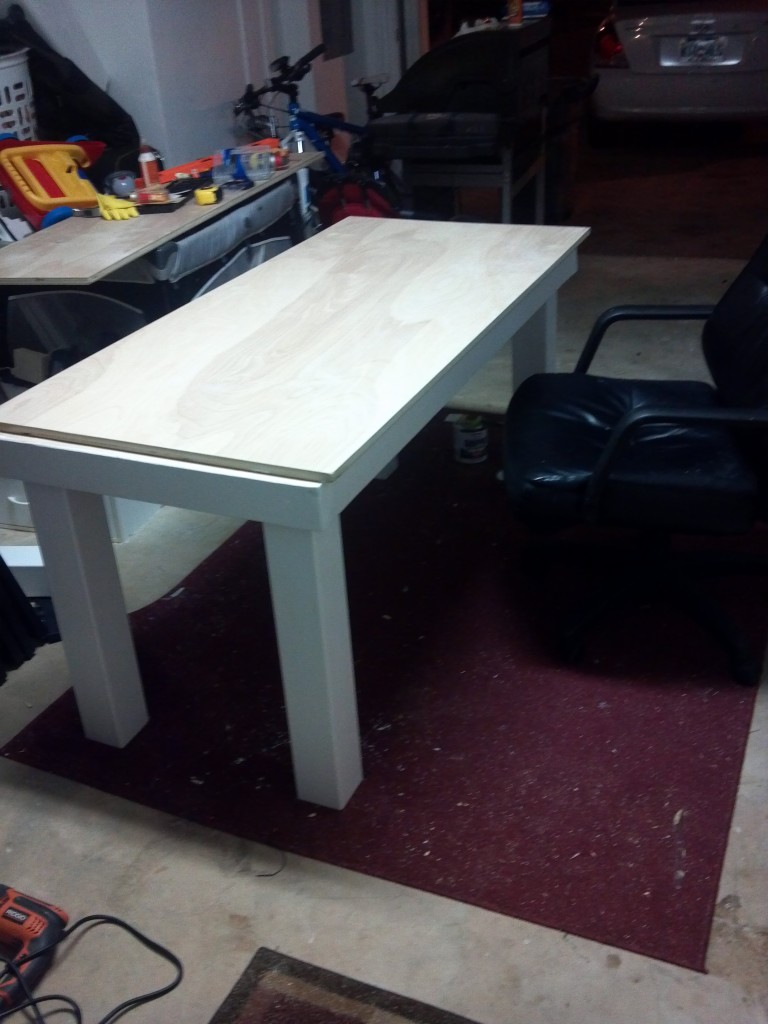
- Looking like a desk now
You can see the lip on the end of the desk, this is where the other part of the “L” will attach to the main part. Crafty, huh?
There was little to do with the second part of the desk top, being that I was planning on attaching it to the wall and the other part of the main desk.
Now we start to finish, I chose a very natural finish:
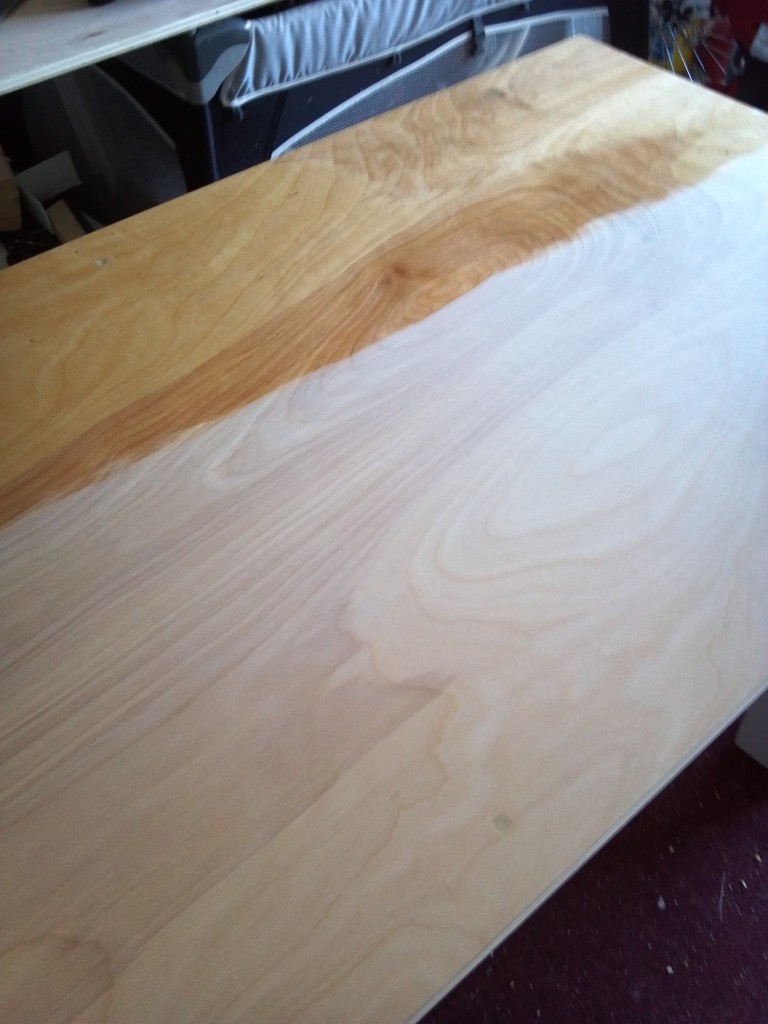
- Finish contrast – kind of bad wood fill job but acceptable to me
- Wet finish, very pleased with the outcome
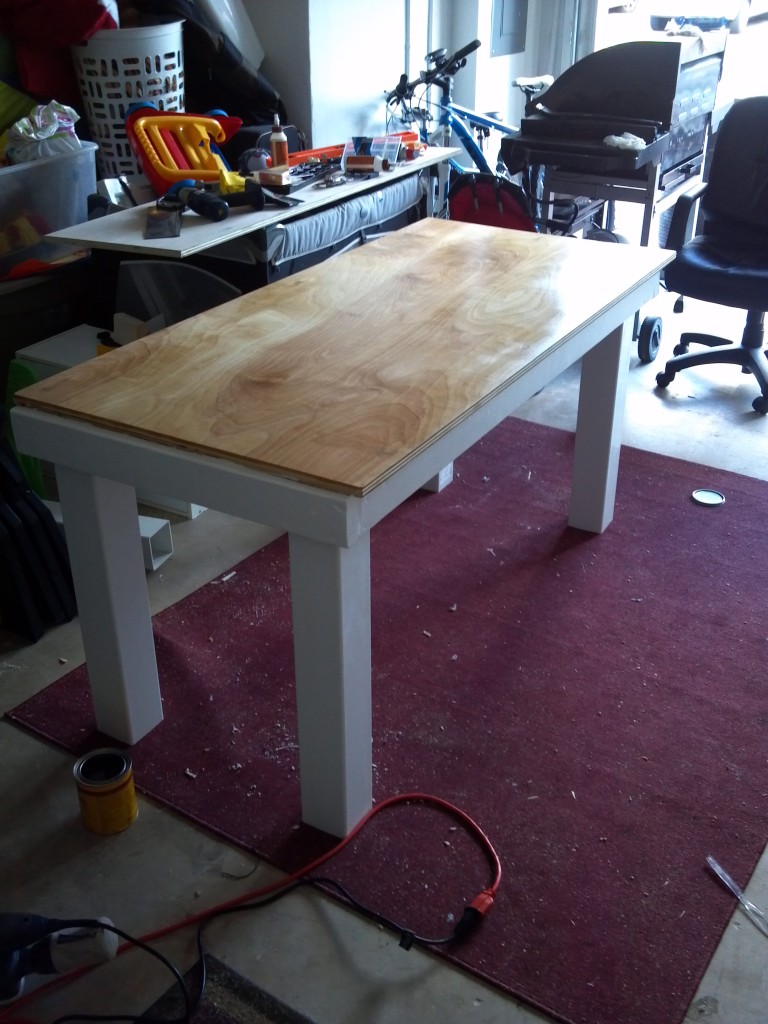
Now its time to finish up. Secured a wood 2×4 about 24″ in length to the wall and the other end to the desk. This allowed half the desk to be floating. Again really happy with the results. The last part is all aesthetic and making it look nice. Hiding wires and such.
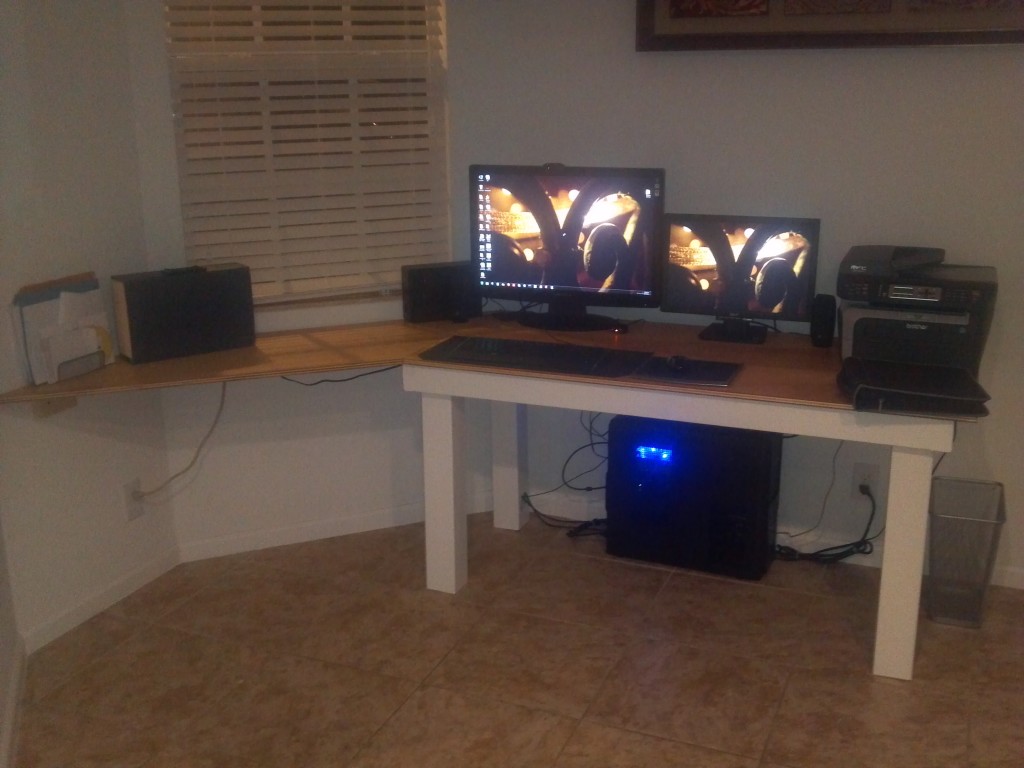
- Finished!
I ordered a keyboard tray from Amazon made by Versa, in my opinion it is one of the best made. I still am not sure how I am going to attach it to the underside of my desk without poking screws through the top, so I will wait. I’m also going to build a small table to the right of the desk to free up desk top real estate and to store my files under.
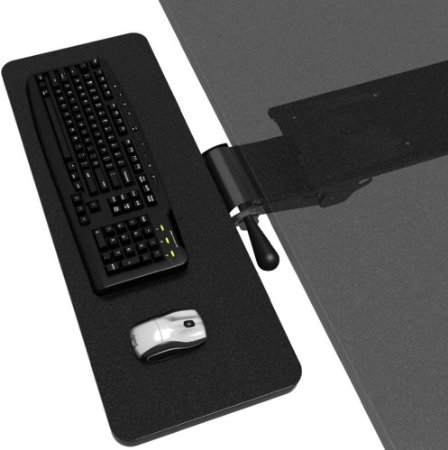
- Keyboard Tray by Versa
This was a very fulfilling project overall and has really made my life a heck of a lot easier when working from home.
Comments are closed.